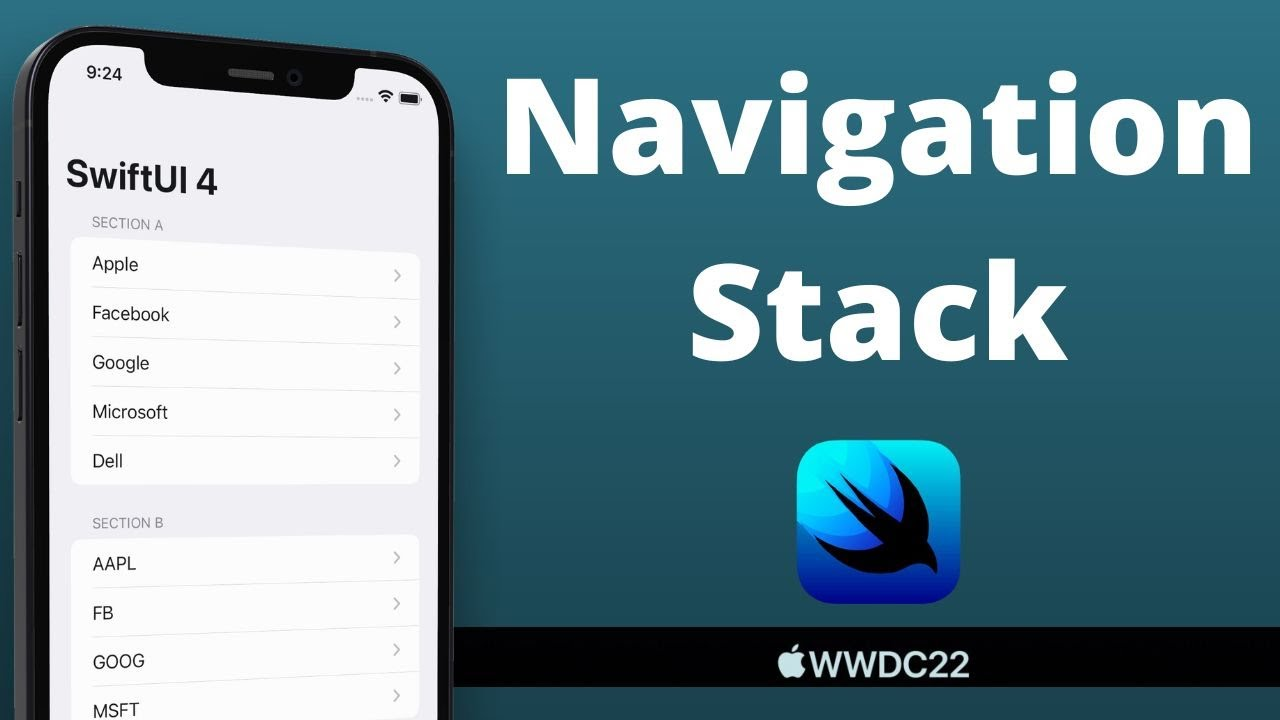
For iOS developers, the navigation view is undoubtedly one of the most commonly used components. When SwiftUI was first released, NavigationViewviews were officially provided for developers to build navigation-based user interfaces.
With the release of iOS16, NavigationViewit has been officially deprecated by Apple and a NavigationStacknew view named to present the view stack. Best of all, developers can leverage this new view to build data-driven navigation.
How to use NavigationView
Before iOS16, we could use NavigationView plus NavigationLink to display the navigation bar and navigate to jump:
var body: some View {
    NavigationView {
        NavigationLink {
            Text("details")
        } label: {
            Text("go to details")
        }
    }
}
The above code creates a view with a navigation controller and a “Go to Details” button. Click this button to navigate to the details page.
How to use NavigationStack
Use NavigationStack to display a stack of views on the root view. The user can NavigationLinkadd a view to the top of the view stack by clicking on it , or remove it using the back button or swipe gesture.
The view stack always displays the view at the top of the stack, and the root view cannot be deleted.
We can use navigationDestination(for:destination:)the modifier to bind the view to the associated data, and then initialize a NavigationLink to perform navigation jumps.
Suppose we want to implement such a requirement: the homepage displays a list of cats, and clicking on each item will jump to the details page.
First, define a structure to store the cat’s data:
struct Cat: Identifiable, Hashable {
    let name: String
    let id: UUID
}
Because List requires uniqueness for each piece of data, our structure must comply with the above two protocols.
Next, create a CatDetailViewview named to represent the details page and write the following code:
struct CatDetailView: View {
    let cat: Cat

    var body: some View {
        Text(cat.name)
    }
}
Finally, create a CatListViewview named to represent the list page and write the following code:
struct CatListView: View {
    let cats = [Cat(name: "red cat", id: UUID()),
    Cat(name: "black cat", id: UUID()),
    Cat(name: "orange cat", id: UUID())]

    var body: some View {
        NavigationStack {
            List(cats) { cat in
                NavigationLink(cat.name, value: cat)
            }
            .navigationDestination(for: Cat.self) { cat in
                CatDetailView(cat: cat)
            }
        }
    }
}
The renderings are as follows:
Multiple Navigation Destination modifiers
Developers can define multiple navigationDestinationmodifiers to handle different types of navigation links. In the previous example we dealt with navigation processing of type Cat. Suppose we need to add a type of navigation processing called Dog on the homepage, and we can add one directly at the back navigationDestination. For example, the following code:
NavigationStack {
	List(cats) { cat in
	    NavigationLink(cat.name, value: cat)
	}

	List(dogs) { dog in
	    NavigationLink(dog.name, value: dog)
	}
	.navigationDestination(for: Cat.self) { cat in
	    CatDetailView(cat: cat)
	}
	.navigationDestination(for: Dog.self) { dog in
	    DogDetailView(dog: dog)
	}
}
Tips: DogDetailView and Dog are similar to cats, just change the names. The redundant code will not be posted here.
Navigation bar status management
Unlike the previous NavigationView, the new NavigationStack can easily track navigation status. The NavigationStack view has another initialization method that accepts a path parameter that is bound to the stack’s navigation state:public init(path: Binding<Data>, @ViewBuilder root: () -> Root)
The sample code is as follows:
@State private var presentedCats: [Cat] = []
var body: some View {
    NavigationStack(path: $presentedCats) {
        List(cats) { cat in
            NavigationLink(cat.name, value: cat)
        }

        .navigationDestination(for: Cat.self) { cat in
            VStack {
                Text("\(presentedCats.count), \(presentedCats.description)")
                CatDetailView(cat: cat)
            }
        }

    }
}
First declare a State property to save the current navigation state, and then pass it in the initialization method of NavigationStack.

