
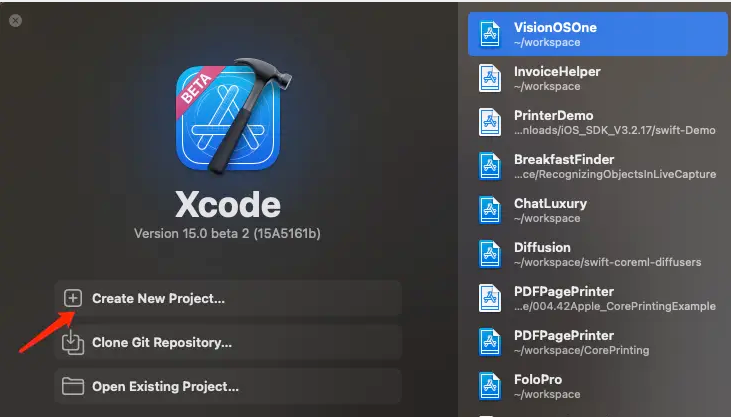
Create project via Xcode
Then select visionOS

Enter product name
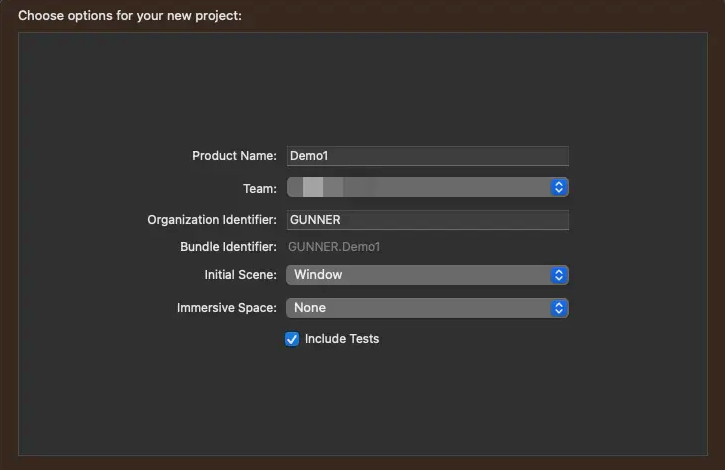
Complete Demo project creation
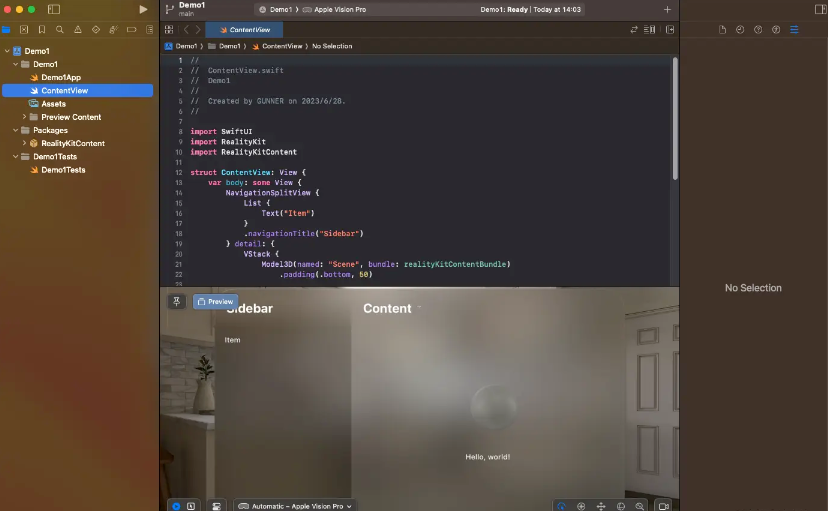
As you can see, in the preview interface, there is a 3D ball. What we have to do next is to replace this 3D ball with our own 3D model.
Edit resource pack content
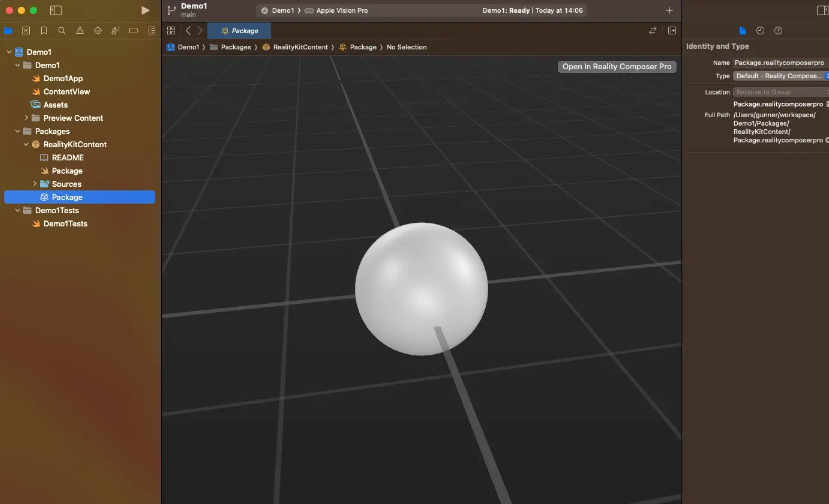
Through the navigation bar on the left, go to Packages -> RealityKitContent -> Package. At this time, the current material package will be previewed. Then we click “Open In Reality Composer Pro” in the upper right corner to add our own 3D model.
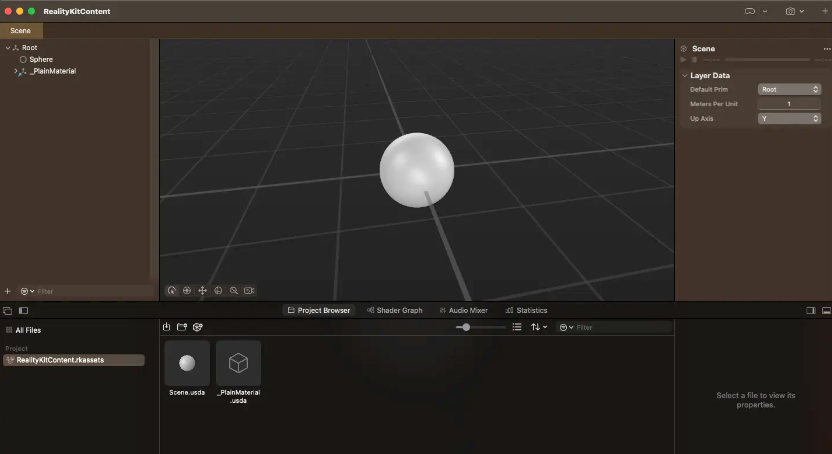
The above is the interface of Reality Composer Pro. Before this, we used the Reality Composer tool to edit the 3D models required by ARKit and RealityKit.
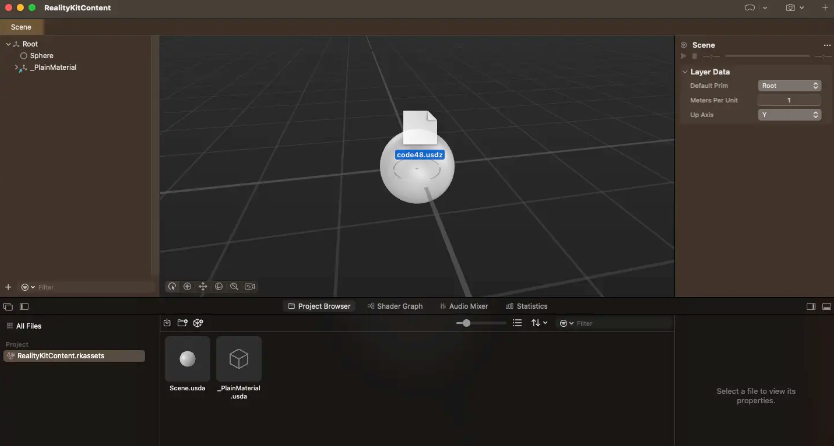
Next drag the 3D model in usdz format into Reality Composer Pro
After the import is successful, delete the previous sphere, and then adjust the position and size
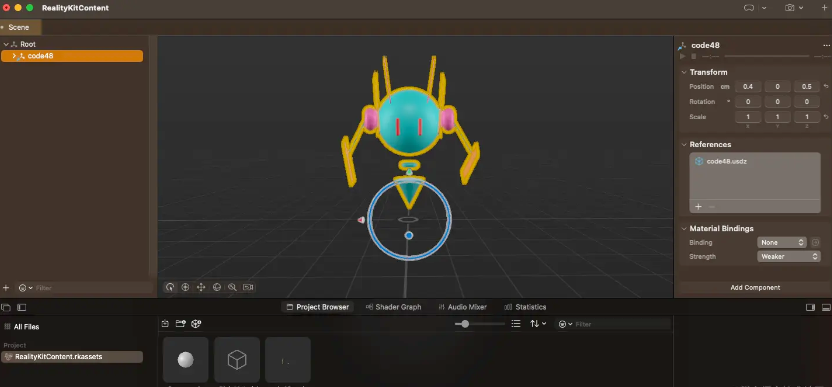
Then save and the preview will be completed directly in Xcode.
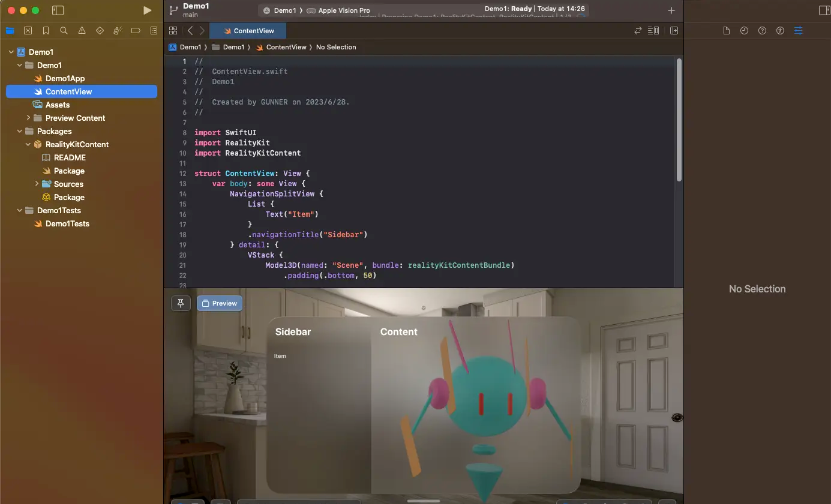
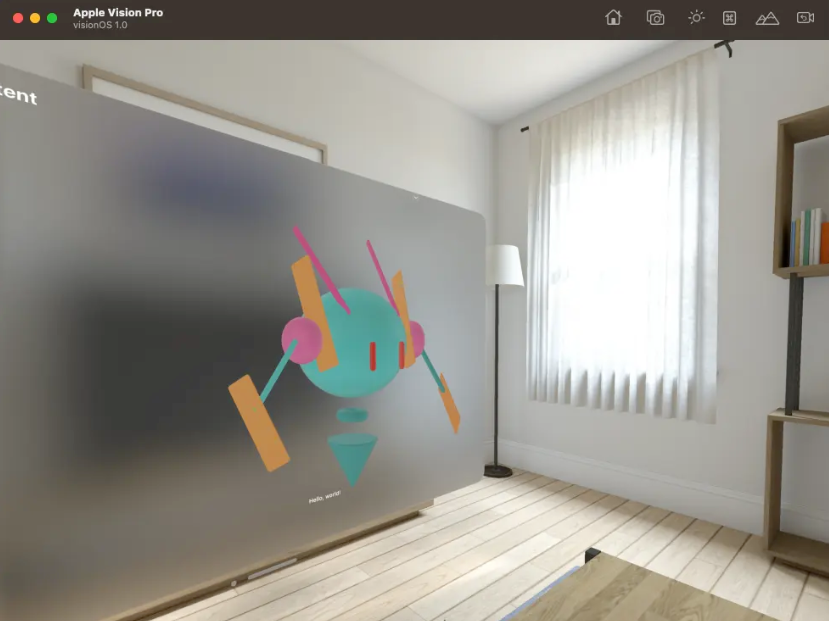
Further, we can preview it in the VisionOS simulator
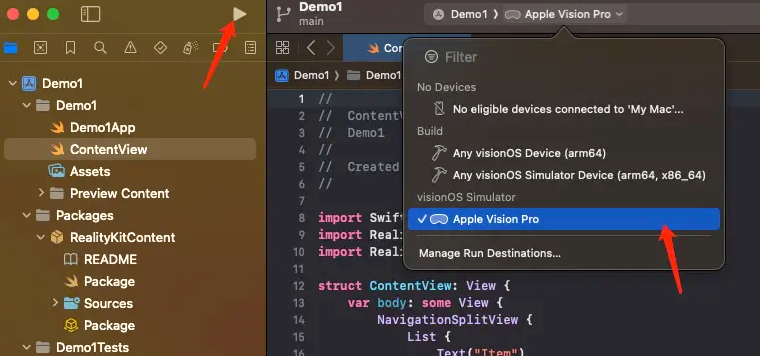
The following is the preview in the simulator, which is the future experience in Vision Pro glasses.
Pitfalls encountered
- I downloaded the Xcode 15 Beta 2 and VisionOS simulators respectively, but opening Xcode did not automatically load the VisionOS simulator. Fortunately, the official website has a way to configure it through tools. For details, see developer.apple.com/documentati…
In addition, I will directly display the command here.
sudo xcode-select -s /Applications/Xcode-beta.app

xcodebuild -runFirstLaunch

xcrun simctl runtime add "~/Downloads/visionOS_1_beta_Simulator_Runtime.dmg"
D: 19BFD83F-DEF9-418D-82A4-7B7B5094A22D xrOS (1.0 - 21N5165g) (Ready)
- I wanted to run a previous MacOS project, but various third-party libraries did not support VisionOS, so I had to give up and create a new Demo project to complete the process.
- The USDZ model created with Reality Composer before was unable to be previewed in Xcode and would crash after being imported into Reality Composer Pro. Finally, use Reality Convert to convert a previous model in obj format into USDZ, and that’s it.
Follow-up
Later, we will learn more about VisionOS documentation and how to integrate 3D models with space.