

Develop Plugin for Flutter. The code is here .
Create a new plugin project calendar_plugin :
$ flutter create --template=plugin --platforms=android,ios calendar_plugin
The platforms are designated as Android and iOS. We will add a platform later, macOS , to see how this process works. If possible, try adding windows and web later.
The default iOS uses swift, and Android uses kotlin. If you need to change objc or java, you can use it arguments -i objc -a javato change to the language you want.
Generated project structure:
- android: Android’s native code (Kotlin).
- example: A Flutter example project, used to display and test the plugin you developed.
- ios: iOS native code (Swift).
- lib: Plugin’s Dart code.
- test: Test Plugin.
- CHANGELOG.md: A markdown file describing the modified documentation included in the release version.
- pubspec.yaml: It contains information about the environment that your Plugin needs to meet.
- README.md: Help document for developers using this Plugin.
Implement Dart code
Two files are generated in the generated lib directory:
calendar_plugin_method_channel.dartcalendar_plugin_platform_interface.dartcalendar_plugin.dart
Define a method in the interface file. Implement this method in the channel file. This method is also responsible for communicating with the native code. Finally, expose this method in the plugin, and this method will be found when the plugin is introduced in other projects.
- Add a method to add events to calendar:
  Future<String?> addEventToCalendar(String eventName) {
    throw UnimplementedError();
  }
- Implement this method:
  @override
  Future<String?> addEventToCalendar(String eventName) {
    return methodChannel.invokeMethod<void>('addEventToCalendar');
  }
- Define this method in the plugin file and expose it to the caller.
  Future<String?> addEventToCalendar(String eventName) {
    return CalendarPluginPlatform.instance.addEventToCalendar(eventName);
  }
The above is the code that needs to be processed in dart. Is it very simple?
Now add their related tests.
The calendar_plugin_test.dart file in the test directory has actually been added. There is a sample test that specifically provides a method to return the system version: it is generated:getPlatformVersion
  test('getPlatformVersion', () async {
    CalendarPlugin calendarPlugin = CalendarPlugin();
    MockCalendarPluginPlatform fakePlatform = MockCalendarPluginPlatform();
    CalendarPluginPlatform.instance = fakePlatform;

    expect(await calendarPlugin.getPlatformVersion(), '42');
  });
Before officially starting, the platform simulation class must be modified.
class MockCalendarPluginPlatform
    with MockPlatformInterfaceMixin
    implements CalendarPluginPlatform {
  @override
  Future<String?> getPlatformVersion() => Future.value('42');

  @override
  Future<String?> addEventToCalendar(String eventName) { // 1
    return Future.value(eventName);
  }
}
addEventToCalendarAdd mock method here .
Add a method below to test adding events to the calendar:
  test('addEventToCalendar', () async {
    CalendarPlugin calendarPlugin = CalendarPlugin();
    MockCalendarPluginPlatform fakePlatform = MockCalendarPluginPlatform();
    CalendarPluginPlatform.instance = fakePlatform;

    expect(
        await calendarPlugin.addEventToCalendar('hello world'), 'hello world');  // 2
  });
If the event is successfully added to the calendar, the text content of the calendar is returned. Just compare the returned values for testing.
Implement iOS part
First, you need to configure the Xcode project of your example, otherwise an error will be reported. Execute this command:
cd hello/example; flutter build ios --no-codesign --config-only
Then use xcode to open your example project.
In a remote location you can find the swift file of the plugin that needs to be edited.
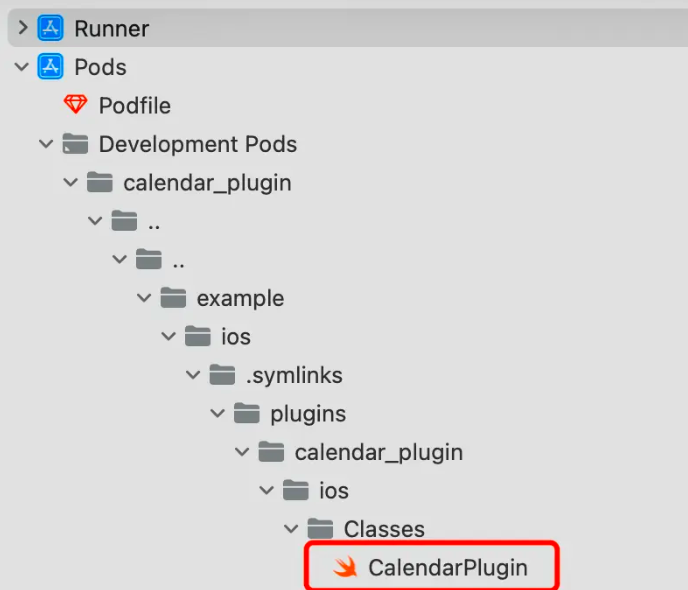
Open the plugin’s swift file CalendarPlugin.swift , and you will see the generated file:
import Flutter
import UIKit

public class CalendarPlugin: NSObject, FlutterPlugin {
  public static func register(with registrar: FlutterPluginRegistrar) {
    let channel = FlutterMethodChannel(name: "calendar_plugin", binaryMessenger: registrar.messenger())
    let instance = CalendarPlugin()
    registrar.addMethodCallDelegate(instance, channel: channel)
  }

  public func handle(_ call: FlutterMethodCall, result: @escaping FlutterResult) {
    switch call.method {
    case "getPlatformVersion":  // *
      result("iOS " + UIDevice.current.systemVersion)

    default:
      result(FlutterMethodNotImplemented)
    }
  }
}
Just here in the comment *, you can see that the code has been generated to obtain the system version number. Similarly, handleadd new code to add events to calendar in the method:
case "addEventToCalendar":  // *
  return null;
In this case branch, there is the code that actually needs to add events in iOS. Don’t pay too much attention to these. What needs attention is how to handle exceptions. For example, there is no title, note or start and end date of the incoming event.
  case "addEventToCalendar":
    if call.arguments == nil {
      result(FlutterError(code: "Invalid parameters", message: "Invalid parameters", details: nil))
      return
    }
codeand messageare both of string type, just write them according to the project code regulations. Details are Any?of type, you can put whatever you want according to the needs of the project.
According to the test written earlier, if an event is successfully added, the title of this time will be returned.
result(title)
Implement Android part
First, you need write access to the calendar
<uses-permission android:name="android.permission.WRITE_CALENDAR"/>
CalendarPlugin.ktThere is a method in the file onMethodCall. There is still a well-implemented method of obtaining the system version.
  override fun onMethodCall(call: MethodCall, result: Result) {
    if (call.method == "getPlatformVersion") {
      result.success("Android ${android.os.Build.VERSION.RELEASE}")
    } else {
      result.notImplemented()
    }
  }
The same is true for determining the method name, so we can follow the same pattern and add a branch.
  if (call.method == "getPlatformVersion") {
    //
  }
Call the developed plug-in
Call the newly developed plug-in in the *example` project.
There is only one main.dart file in the lib directory of this project that is responsible for calling the plug-in. Modify this file:
//
  Center(
    child: Text('Added event $_eventName\n'), // 1
  ),
  ElevatedButton(
      onPressed: () {
        Permission.calendarFullAccess.request().then((status) { // 2
          if (status.isGranted) {
            debugPrint("calendar full access is granted");
            _calendarPlugin
                .addEventToCalendar("hello", "hello world")
                .then((value) {
              debugPrint("ret is $value");
              setState(() { // 3
                _eventName = value ?? '';
              });
            });
          } else {
            debugPrint("calendar full access is denied");
          }
        });
      },
      child: const Text("OK")
  ),
- A
Texttitle showing the returned event - Button, in the click event, it first pops up to request the user’s calendar permission. is used here
permission_handler. For specific installation and configuration methods, please refer to the official documentation of the permission handler. There are many times when Android and iOS need to handle runtime permissions, and this library is very useful. - SetState is set after the event title is successfully returned, so that the title will be displayed.
After running, you will find the added events in the calendar. However, on Android, you need to log in to your account first, so it was not added successfully.
at last
Developing plugins is something you will inevitably encounter when dealing with Flutter development. If you don’t have an open source library, you have to develop it yourself. Plugin mainly handles when there is a certain amount of code. If it is only a relatively simple interoperability with native, it can be handled in a simpler way.