

1.Conda Advantages
Conda is an open source software package management system and environment management system, mainly used to install and manage software packages and their dependencies in different computing environments. It was originally designed for Python, but can now be used to manage packages in other languages as well.
Conda provides support for virtual environments, which allows users to manage multiple independent Python environments simultaneously on the same computer. This is very useful when developing and testing different projects or switching between projects.
Summary: Each virtual environment created by Conda can correspond to each of your Python projects . The software packages and other things required for each of your Python projects may be different. In order to avoid conflicts between projects, you can provide them with Each configures a virtual environment , and the virtual environments do not interfere with each other.
2.Download and install Anaconda
It’s too simple. Skip here. To put it simply, just enter the official website, download, and install according to the prompts. There are many videos at Bilibili (Anaconda here is Conda)
3. Conda creates a virtual environment and related issues to note
method one:
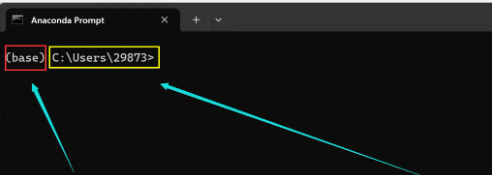
- Open Anaconda Prompt (if you can’t find it, search directly in the start, or go to the folder where you installed Anaconda to find it). After opening, the window page is as follows
- Create and activate virtual environments
- Method 1:
create:
Enter the following code in the prompt:
conda create --name myenv python=3.6
myenv is the name of the virtual environment you want to create, and python=3.6 is the python version configured for the environment. If you don’t want to add python, just delete it.
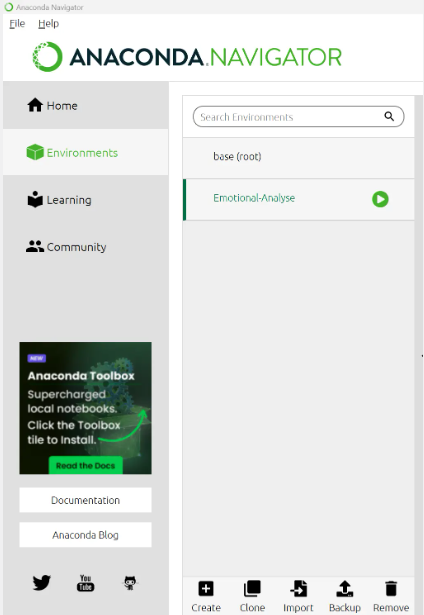
Activation: Note that the virtual environment you create in this way is stored in the C drive by default, and it can be found in Anaconda (that is, found in the environment list in the picture below), so the first way to activate the virtual environment is directly below Click to switch in the conda environment list, and the second is to enter the code in the Anaconda prompt.conda activate
- Method 2 (Create a virtual environment on another disk) :
Create: If you want to create the virtual environment on the D drive, you can use --prefixparameters to specify the path. The following is an example command to create a virtual environment in the D drive:
conda create --prefix D:\path\to\myenv python=3.6
Through the above command, you can create a virtual environment in the specified path of the D drive. Then, when you activate this virtual environment, you can conda activate D:\path\to\myenvactivate it with , but you cannot activate it with the environment name. [Note: The virtual environment created by this method will not be displayed in the Anaconda environment list]
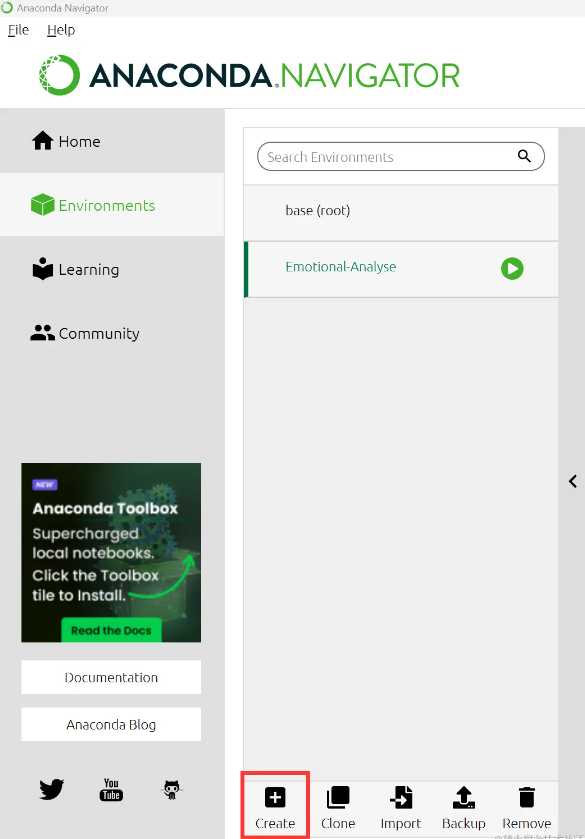
Method Two:
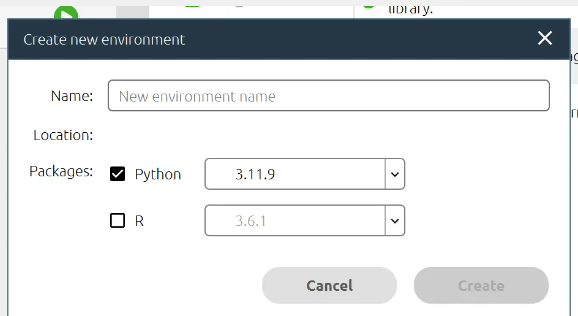
Create directly in the Anaconda environment list panel (the principle here is equivalent to method 1 above):
Choose the python version you need
Finally, you can view all your environments by typing in the prompt conda env list. By the way, if the virtual environment is created using method 2 above, its location will be displayed in the list but its name will not be displayed. At the same time, it will not be displayed in Anaconda’s environment list, please pay attention!